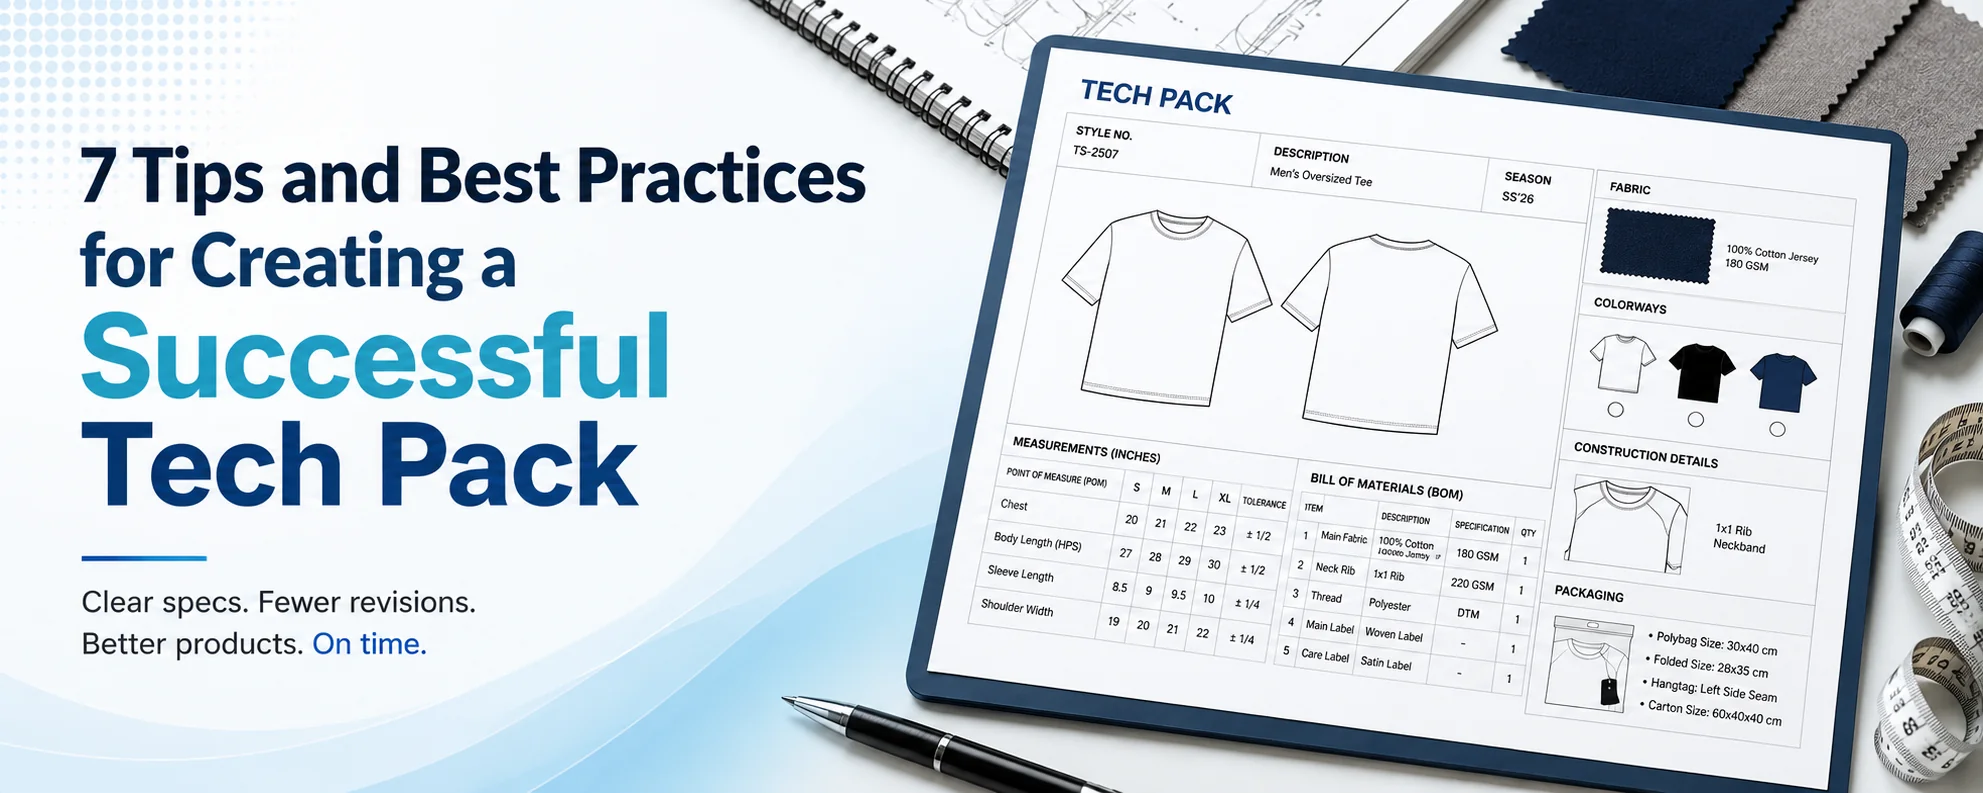
Sound specs are built through experience. The seven practices below help keep sampling rounds on budget and reduce the back-and-forth with the factory.
1. Know What GoesIntoa Tech Pack, and Move Beyond Static Spreadsheets
Start by mapping out exactly what a factory needs in order to sew the piece, then organise that information logically.
A static Excel spreadsheet can hold up for a basic t-shirt, but it struggles as styles grow more complex. Spreadsheets create isolated data silos, they invite manual entry errors, and they leave factories working from outdated email attachments.
Moving to a dedicated spec builder or a Product Lifecycle Management (PLM) system gives internal design teams and overseas vendors a single source of truth.
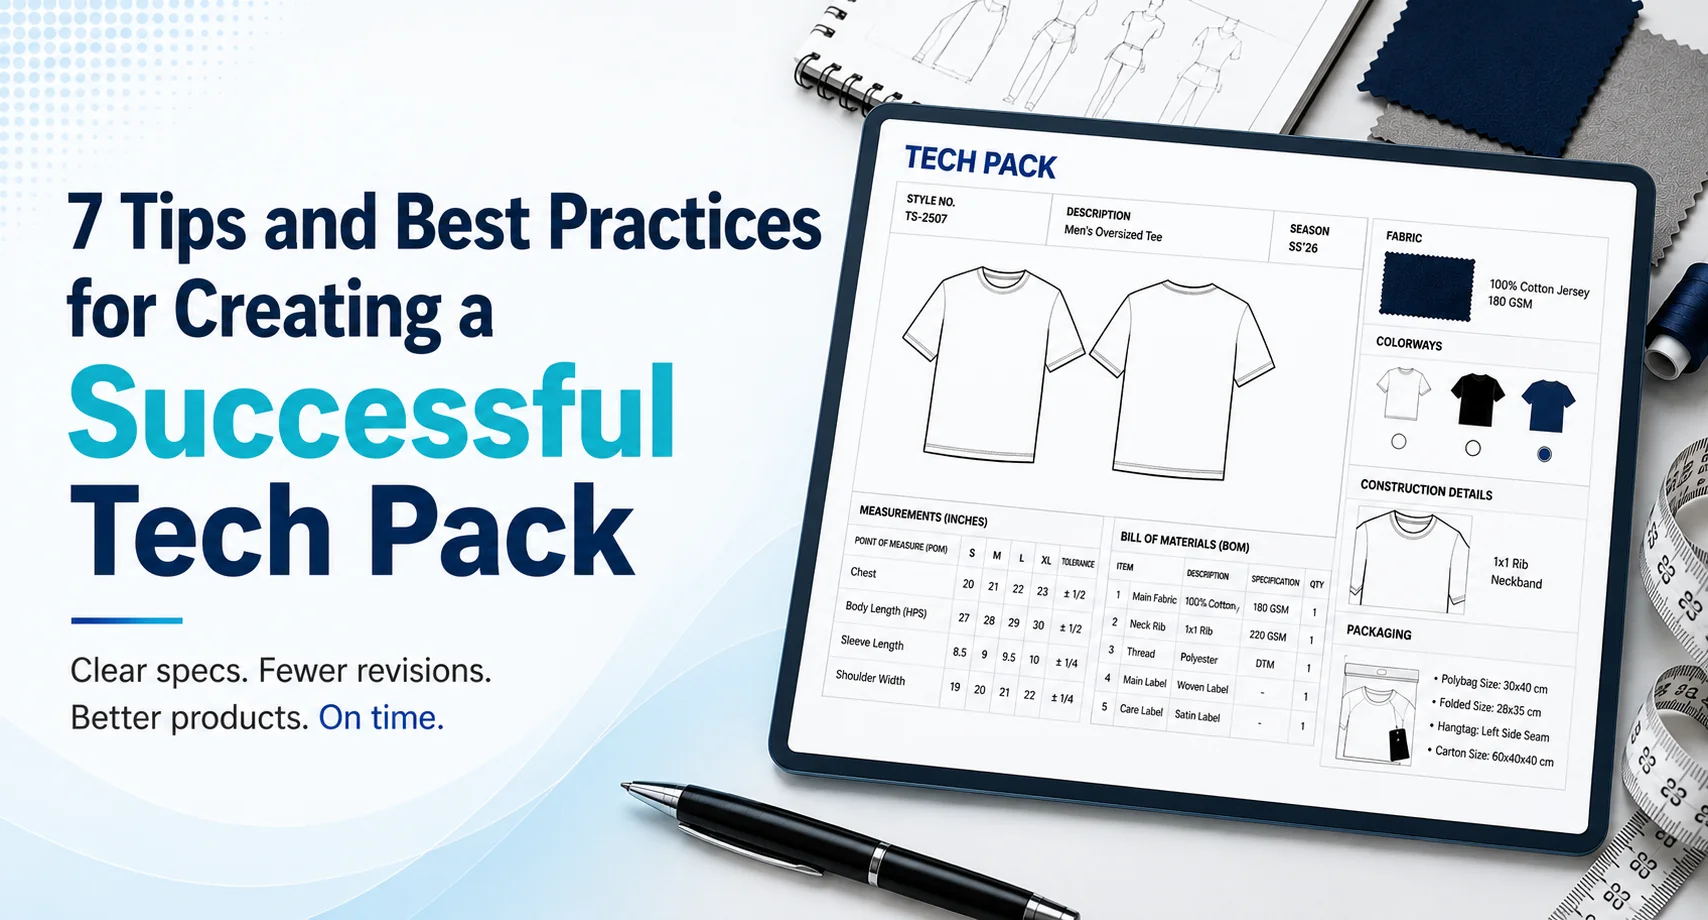
A master spec packet should cover:
- Article names, style numbers and product categories
- Measurement charts and grading rules
- An itemised Bill of Materials (BOM) and trim list
- Panel placements and colour specs
- Stitch callouts, seam notes and artwork dimensions
It is also worth attaching quality control parameters, wash and shrinkage testing criteria, polybag packing instructions, and target costing sheets.
2. Include High-Quality Technical Vector Drawings
Croquis sketches have their place on a mood board, but a sample sewer cannot translate an artistic drape into pattern pieces. Pattern makers need clean black-and-white vector line art that shows the front, back, sleeve and side angles.
Technical illustration guidance: Leave out stylised shading and fashion figures. Sample makers need flat 2D vectors that show the exact seam pathways, topstitching and internal detail callouts.
Flat art tips:
- Draw every seam: Include coverstitching, pocket bags, hidden linings and hard trim placements directly on the drawing.
- Add explicit callout arrows: Point to construction details with fixed dimensions, for example “Position chest pocket 4.5 cm down from left shoulder seam.”
- Plot graphic placement: Draw prints, embroideries and patches at 1:1 scale inside clear placement boundary boxes.
3. Streamline File Distribution Across Global Supply Chains
The way you format and export technical documentation has a direct effect on development speed. An overseas mill dealing with oversized attachments or broken links loses time immediately.
Better distribution habits:
- Format multi-page PDFs cleanly: Break long specs into distinct pages with a clear visual hierarchy, rather than one continuous scroll.
- Link assets through cloud storage: Keep raw vector graphics and artwork files in Google Drive or Dropbox folders, then share accessible links.
- Use live vendor portals: Centralise communication in one place. WFX PLM runs a vendor portal for this. Factories open the current tech pack, pull artwork and 3D assets from the same library the internal team works in, and comment inside the system rather than over email.
4. Define Construction Standards,Downto the Stitch
Construction quality lives in the detail. Leave an assembly note vague and the factory fills the gap with its own house default, because the line has to keep moving. What arrives can be well made and still wrong.
The micro-details worth defining:
- Assembly specs: Seam allowances, edge finishes, interlinings, collar structures, zipper tape codes and label placements.
- Stitch and thread data: ISO seam codes, density parameters such as stitches per inch (SPI), and Tex thread sizes.
- POM spec sheets: Comprehensive measurement tables paired with realistic, enforceable plus-or-minus tolerance limits.
- Size grading logic: Growth rates checked against a standard industry block, so an XL delivers the fit that was approved on the base size.
5. Run Every Sample Through the Same Checklist
Moving from first proto to bulk production takes several sample iterations. Building a structured review checklist into the workflow keeps sample sewers and internal teams aligned through every revision.
Building in accountability:
- Define task ownership: Assign clear responsibility for pattern adjustments, fit reviews, grade rules and raw material sign-offs.
- Lock in key dates: Set firm deadlines for revision notes, fit updates and pre-production sample (PPS) sign-offs.
- Audit fits side by side: Review physical sample comments together with factory teams, so construction issues are caught before bulk production begins.
6. Audit Your Specs to Prevent Misprints and Typos
Read back every line item before the file leaves your desk. A single transposed measurement code or mistyped digit can compromise an entire production batch.
A few habits catch most errors before export:
- Run internal QA checks: Measure the spec sheet against an internal checklist before it goes to the factory.
- Get peer feedback: Ask another technical designer to review the file and flag any missing parameters or unclear callouts.
- Read tables right to left: Plenty of technical designers swear by reading measurement tables backwards. It stops the eye skimming a shape it already knows, and transposed digits tend to jump out.
- Use universal acronyms: SPI, DTM, HPS. Spell each one out on first use, then stick to the standard industry term. In-house shorthand rarely survives the trip to an overseas factory floor.
- Document vendor feedback: Save the questions a factory raises during sampling and feed the answers back into your base templates.
7. Let a PLM System Do the Repetitive Work
Building tech packs by hand eats design hours that should be going into product. The repetitive part, the fields that carry over from one style to the next, is exactly what software handles well.
How WFX PLM supports development:
- Customisable tech pack templates: WFX PLM lets teams build customisable tech pack templates and measurement sheets, so the same structure carries across every style.
- Smart data reuse: When a new style begins, teams draw on a centralised product and material library and carry over approved versions, which removes hours of repetitive data entry.
- Global supply chain access: Vendors get direct access to live tech packs and instant notification of new specs, costing requests, approvals and sample requests, which removes email clutter and cross-border confusion.